Week 9 – January 27 First aid supply list:
Miscellaneous Medical Supplies:
Add ointments, creams, cold and
flu medications, pain relievers, prescription medications, cough drops, allergy
medications and any other items you would like in your first aid kit. Large
diameter straws for repackaging items into individual doses.
72 Hour Kit Optional Additions:
See 72 hour kit levels page and customize
remainder of kit to your needs.
Home food storage: Continue creating complete meal packs and
setting aside for future use if not completed. Purchase at least 1 can of each
family members favorite food.
Now package the creams, ointments, and other medications into small amounts in straws. I saw milkshake straws at Bed Bath and Beyond. They have a very large diameter and can easily hold pills if your regular straws are not large enough.
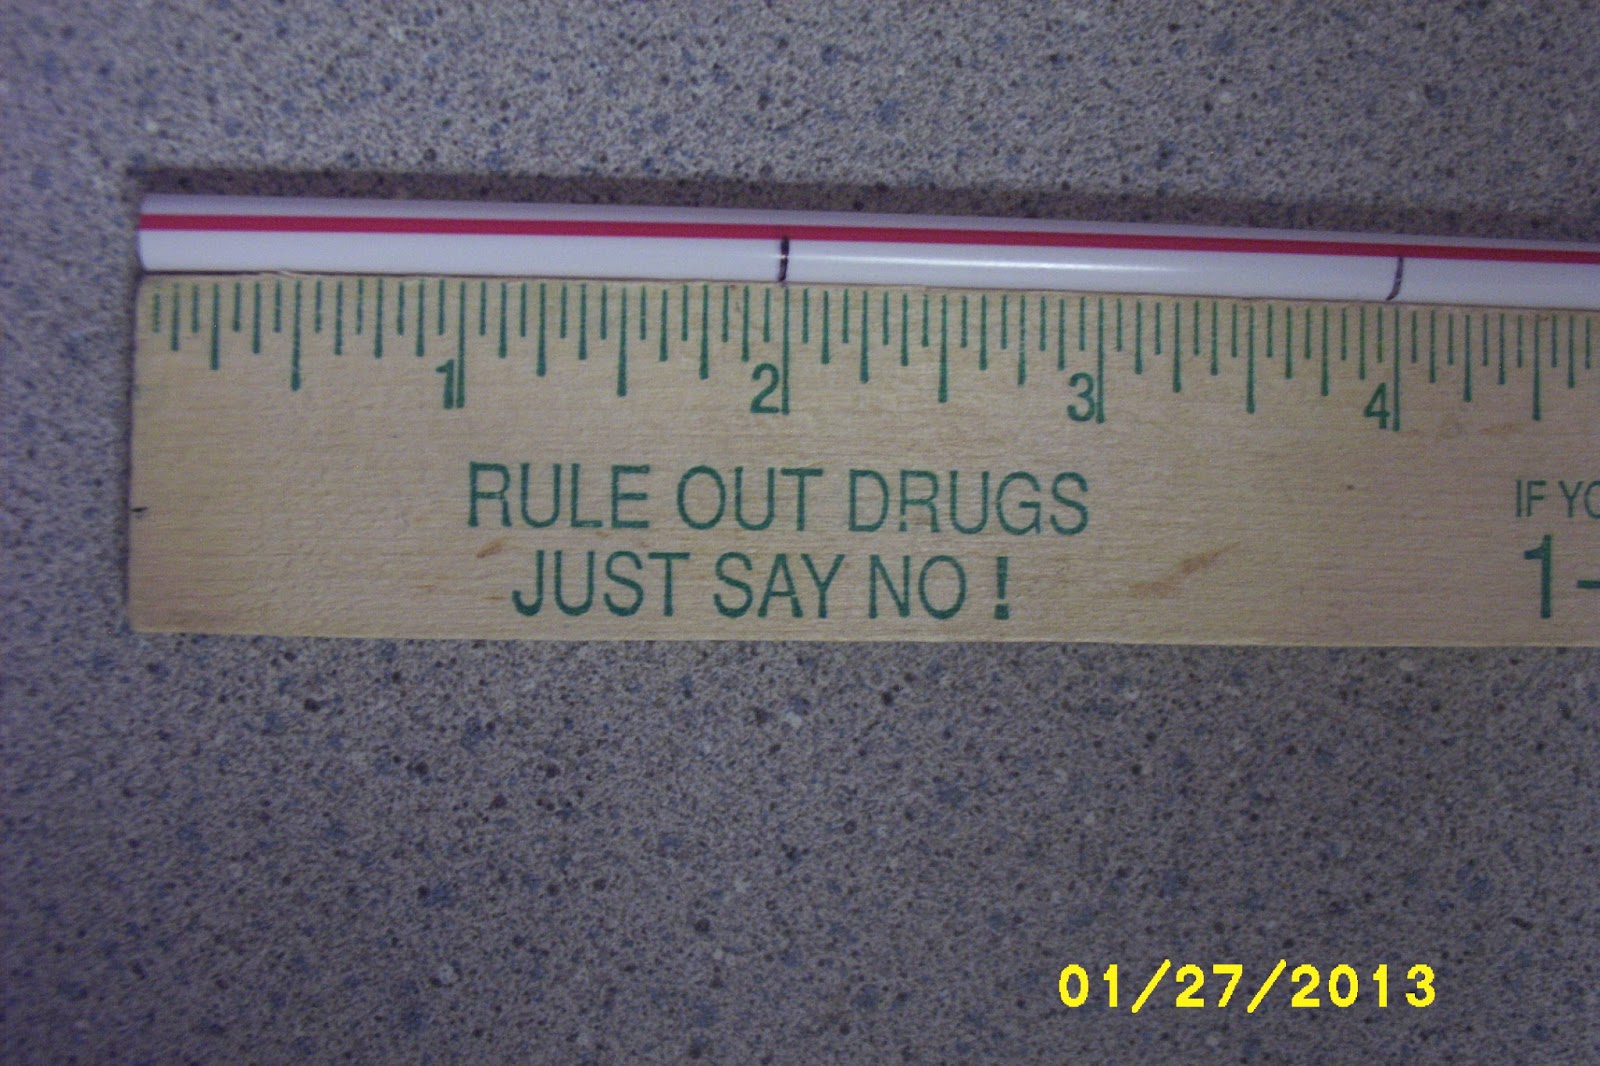
 Here are the items I used: scissors, extra small funnel, hemostats or needlenose pliers, fine tip permanent marker, large diameter straw, ruler, and masking tape.
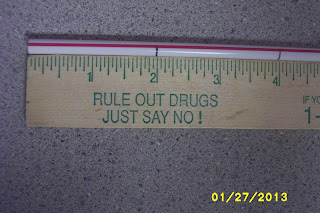 For the ointments I measured and cut the straw into 2 inch segments.
Now package the creams, ointments, and other medications into small amounts in straws. I saw milkshake straws at Bed Bath and Beyond. They have a very large diameter and can easily hold pills if your regular straws are not large enough.


Pinch the end of the straw closed and place the flame of the lighter close to the straw. I like using the blue part of the flame, because it doesn't turn the straw black. The flame doesn't need to touch the straw to melt it closed and it only takes a second or two. Check for holes and heat again if needed.

Squeeze the ointment into the straw. This ointment had a larger opening than the straw. I used a toothpick to push the ointment into the straw and added more and use the toothpick again. I cleaned off the edge of the straw and squeezed the open end closed and pushed the ointment down to the center of the straw. A milkshake straw would have been good for this.
Then I held that end closed and sealed it like the first end. Check this end for holes too.

I copied the ointment name and expiration date onto a piece of masking tape.
 Wrap the masking tape around the new ointment package and place in your first aid kit.
For liquid medications seal one end of the straw. Measure the dose. Pour it into the straw (this is where the tiny funnel comes in handy), cut the straw off at least 3/4" past the liquid and seal closed. Label with item name, expiration date, and dosage amount.
You may want to group you items together into resealable snack bags just in case something leaks. They are easier to find also when grouped together. Label the bag for locating quickly.


 You can see they are a little larger than my thumb nail. I am using these for the pills in my first aid kit. I love that the labels already there and ready to be written on.

For liquid medications seal one end of the straw. Measure the dose. Pour it into the straw (this is where the tiny funnel comes in handy), cut the straw off at least 3/4" past the liquid and seal closed. Label with item name, expiration date, and dosage amount.
You may want to group you items together into resealable snack bags just in case something leaks. They are easier to find also when grouped together. Label the bag for locating quickly.

I found a bag of little containers like this at a thrift store and bought them with a crafting project in mind for them. Here is the container open. I have no idea what it is for, but I several of them with pills in them.

Here is a picture showing the depth of the container.
